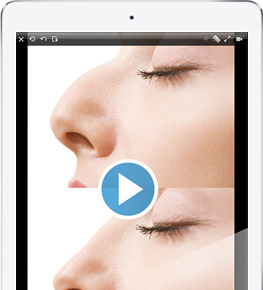
The Plastic Surgery Simulator for Mac OS is a simple but powerful application that will let you modify photos to simulate plastic surgery results on anyone's face and body. Easy to use, you will be able to distort photos to simulate plastic surgeries in seconds. Please browse this page to learn more about application features.
View in the Mac App Store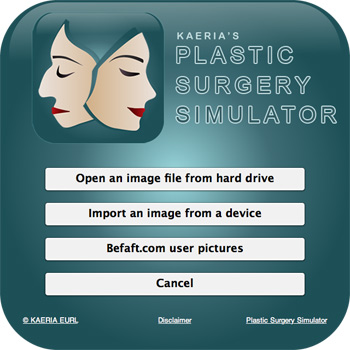
Image import
You can import images from your computer hard drive, or from a device connected to your computer, such as a professional camera or a scanner.
Tabbed views
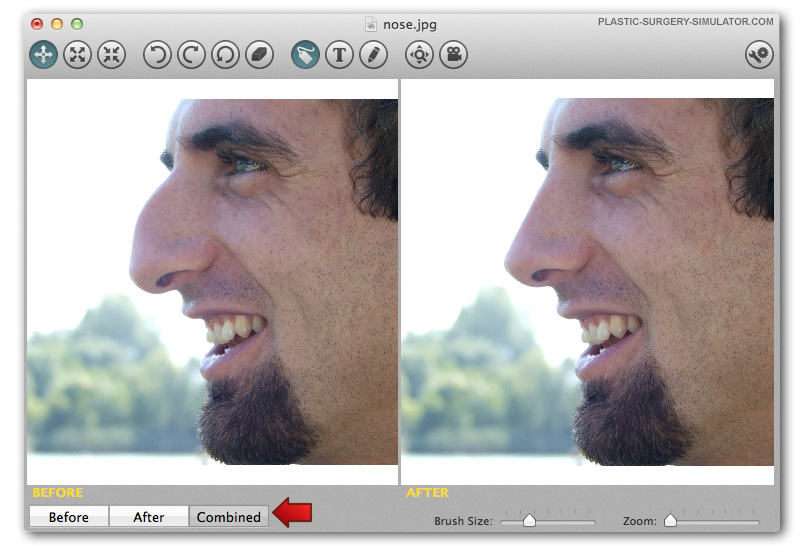
You can chose to display the original unmodified image only, the modified image, or a combination of both for efficient comparison of the before / after work. Note that zoom and scroll are synchronized between all the views. You can cycle trough the tabs with the keyboard left and right arrows.
Distortions effects
You can easily modify photos with your finger by stretching, growing or shrinking the desired areas to simulate photo realistic plastic surgery results. It is very easy to distort your pictures, and you will be able to simulate photo realistic plastic surgeries within seconds.
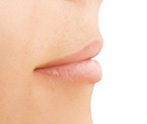 ORIGINAL

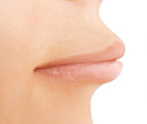 STRETCH

Hold click with mouse or 3 fingers on trackpad and slowly move on the image.
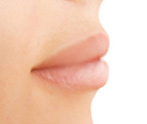 GROW
GROW

Hold click with mouse or 3 fingers on trackpad on targeted image zone.
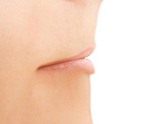 SHRINK

Hold click with mouse or 3 fingers on trackpad on targeted image zone.
Command Icons
Here is a list of all the application's icons, and their meaning.

Smart saving
On the saving screen, you can specify if you want to save the currently displayed tab view, or the 3 tabs. If you chose to save the 3 tabs, the Plastic Surgery Simulator will create a folder containing: the original image, the modified image, and a combination of both. Additionally you can specify if you want the saved image to contain the watermark texts or not. If you chose to save your work as a .pss document, you will be able to resume you work later by opening it: a .PSS document is a document that contains coordinates of all your modifications on a specific image.
Watermarks
Watermarks are texts that will optionally appear over your saved images. You can enable or disable Watermark display on images when they are saved by clicking on the "Watermark" icon (see above the "Commands Icons"). There are 2 watermark zones : Top left corner (default text is “Before”), top right corner (default text is "After"). You can input any short text you want in the watermarks fields, accessible from the "Settings" icon.
Shortcuts
Some often performed actions are accessible trough keyboard, mouse and Trackpad shortcuts for a smooth working experience. Here are some notable shortcuts :
KEYBOARD, MOUSE:
TRACKPAD (depends on your Trackpad settings):
Sample
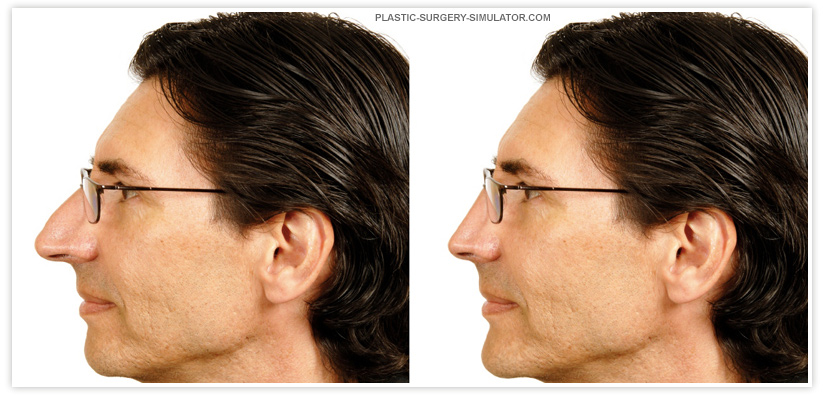
Here is an image sample of a virtual nose job and chin augmentation performed with the Mac OS version of the application. It took under 1 minute to perform thanks to the smooth and powerful distortion algorithm of our software.
